Ultimate Guide to Creating Consistent Characters with AI
What is Consistent Character?
Welcome to our Consistent Character feature! This is a revolutionary AI image generation technology that allows you to:
- Create your own AI characters from existing images and manage them!
- Generate more images based on your created characters.
- Insert character into your images.
- Build professional-level character reference sheets (turnarounds) with one click.
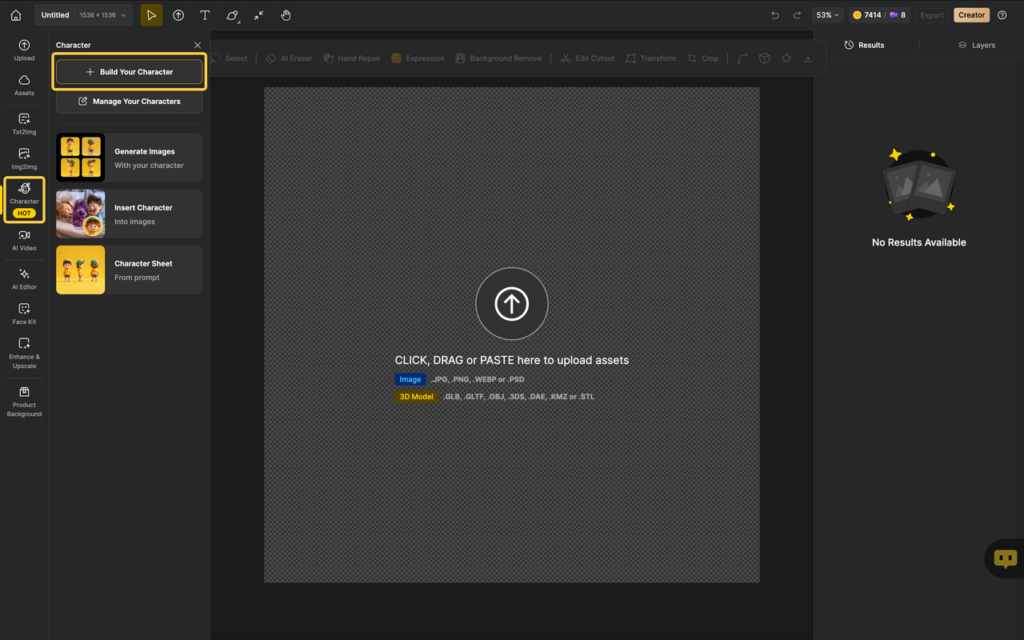
2. Build Your Character
You can find Character in the Global Sidebar and build your character in the menu.
2.1 Build Using Text
Steps:
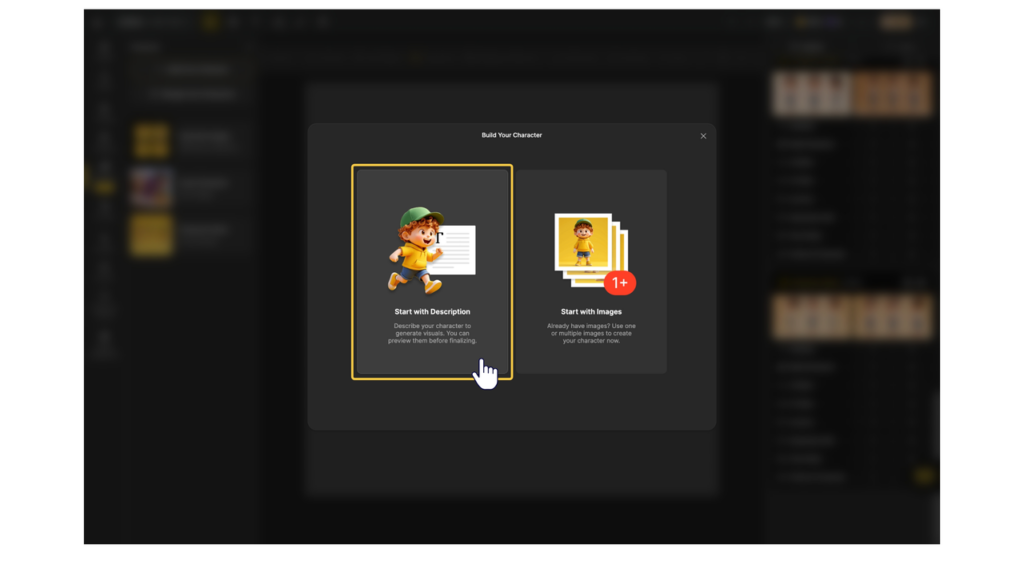
- Click the “Build Your Character” button
- Select “Start with Description”
- Name your character and describe them
- Provide as many details as possible about the character.
- Choose your preferred style from the style library.

- Select a preview image
- You will receive a set of preview images. If you like one, check it and proceed to training.
- If unsatisfied, click
 Regenerate to try again.
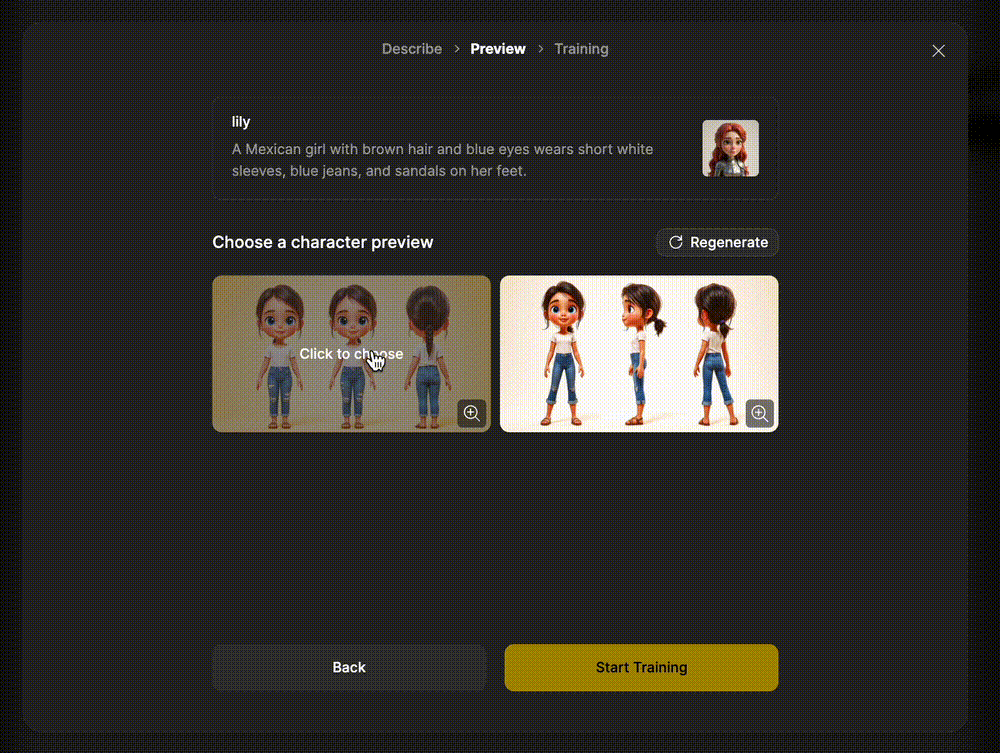
- Get your custom-trained character
2.2 Build Using Images
- Click the “Build Your Character” button
- Select “Start with Images”
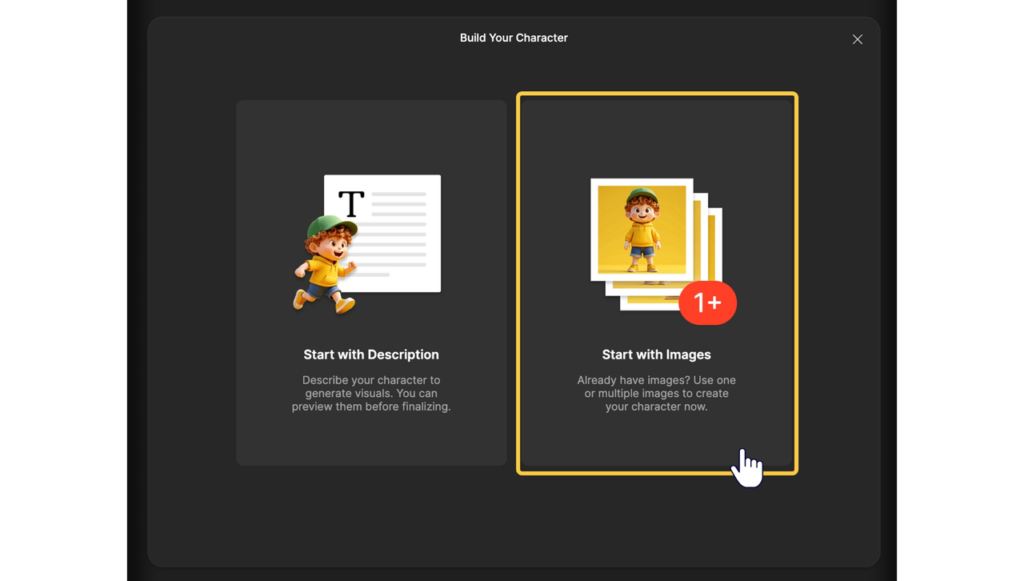
- Name your character and upload photos (up to 30)
- After uploading, begin training your exclusive character!
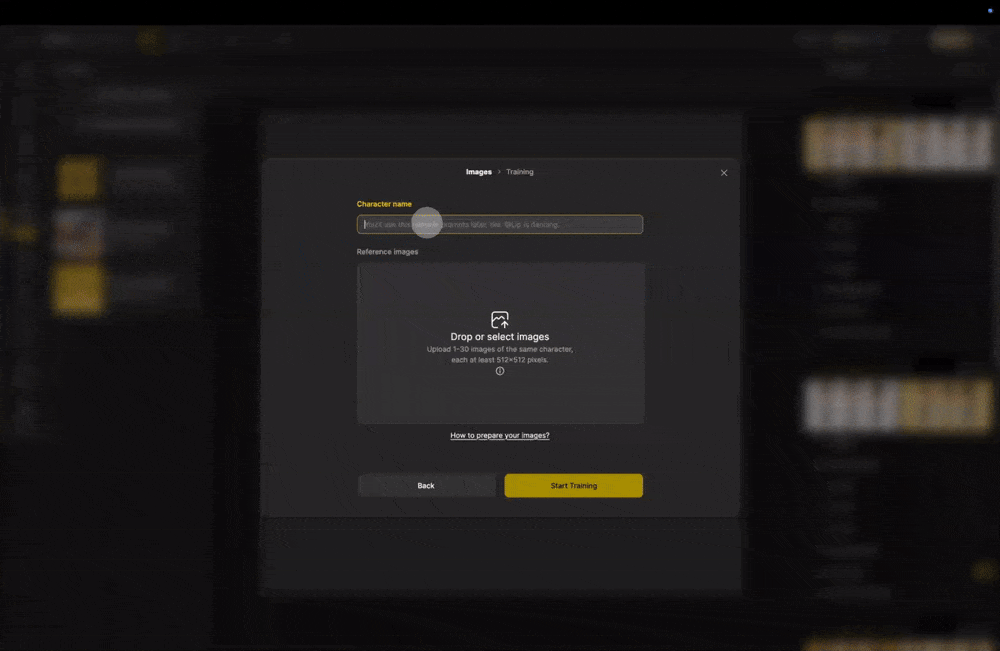
- Character training is complete
?Tips:
- Use high-resolution, clear facial/full-body photos.
- Photos from different angles improve character accuracy.
- Avoid images with obscured faces or bodies.
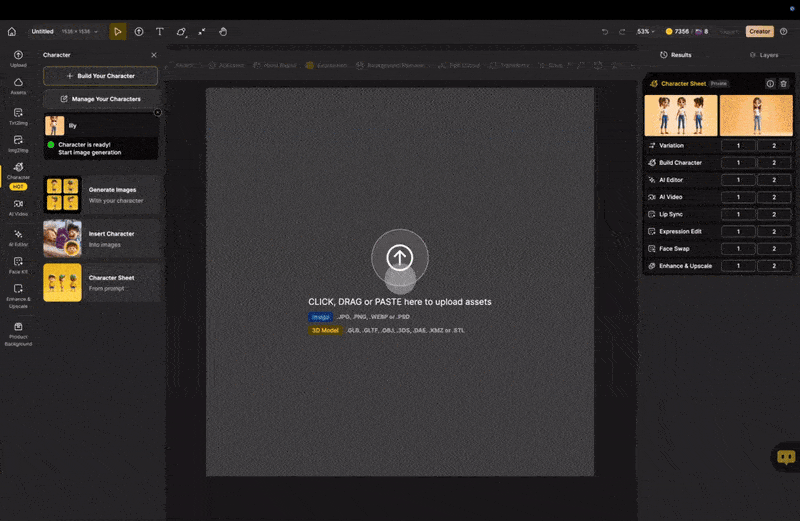
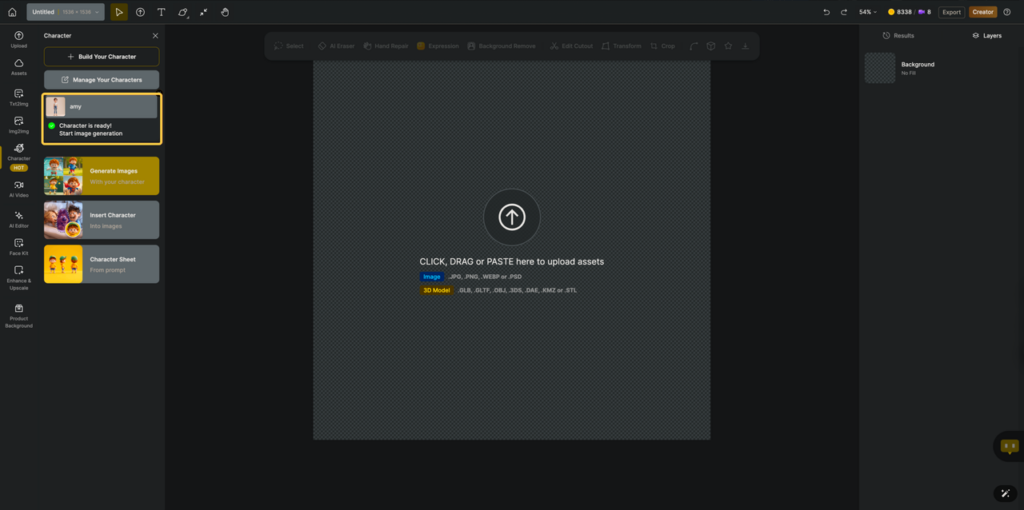
3. Manage Your Character
- Open Manage Your Character on the menu

- Manage your character
- Dzine provides a number of preset characters that you can use directly to generate images.
- You can also
 rename or
  delete your characters.

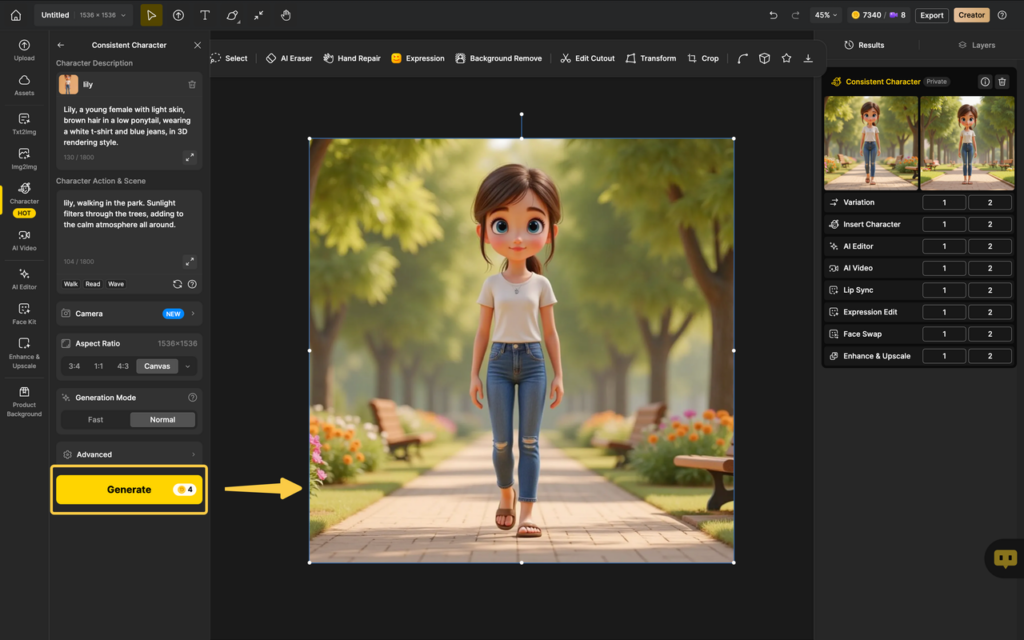
4. Generate More Images!
- Select a character
- Choose your created character under “Choose a Character.”
- Describe your characters actions & scene
- Under “Character Actions & Scene”, describe what you want the character to do.
- We provide preset actions (walk, read, wave, sit, laugh, dance, soccer, paint, sing), or you can write custom prompts.
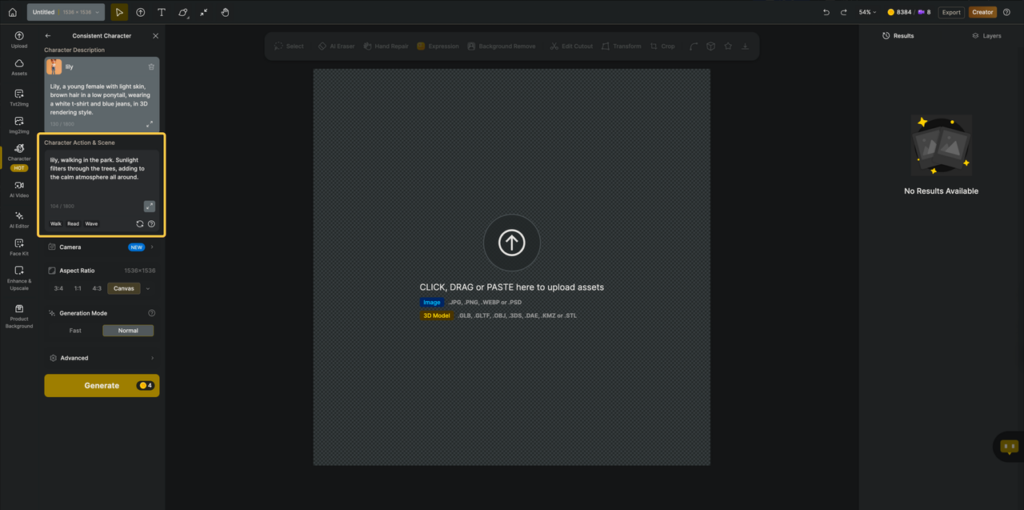
‼️Keep character descriptions consistent, adjust clothing for the environment, and remove unnecessary details to avoid distracting the AI.
 Note: Do not remove style keywords.
- Adjust the camera angle
- Use
 Camera to modify the character direction and camera shot for better composition.
- Use

- Adjust the aspect ratio
- Under
 Aspect Ratios, choose your preferred ratio (e.g., 3:4, 16:9) or customize based on canvas size.
- Under

- Select a generation mode
- Under
 Generation Mode, choose:
- Fast Mode: Quick generation with fewer credits (ideal for drafts).
- Normal Mode: Higher precision but takes longer.
- Under
- Generate your image
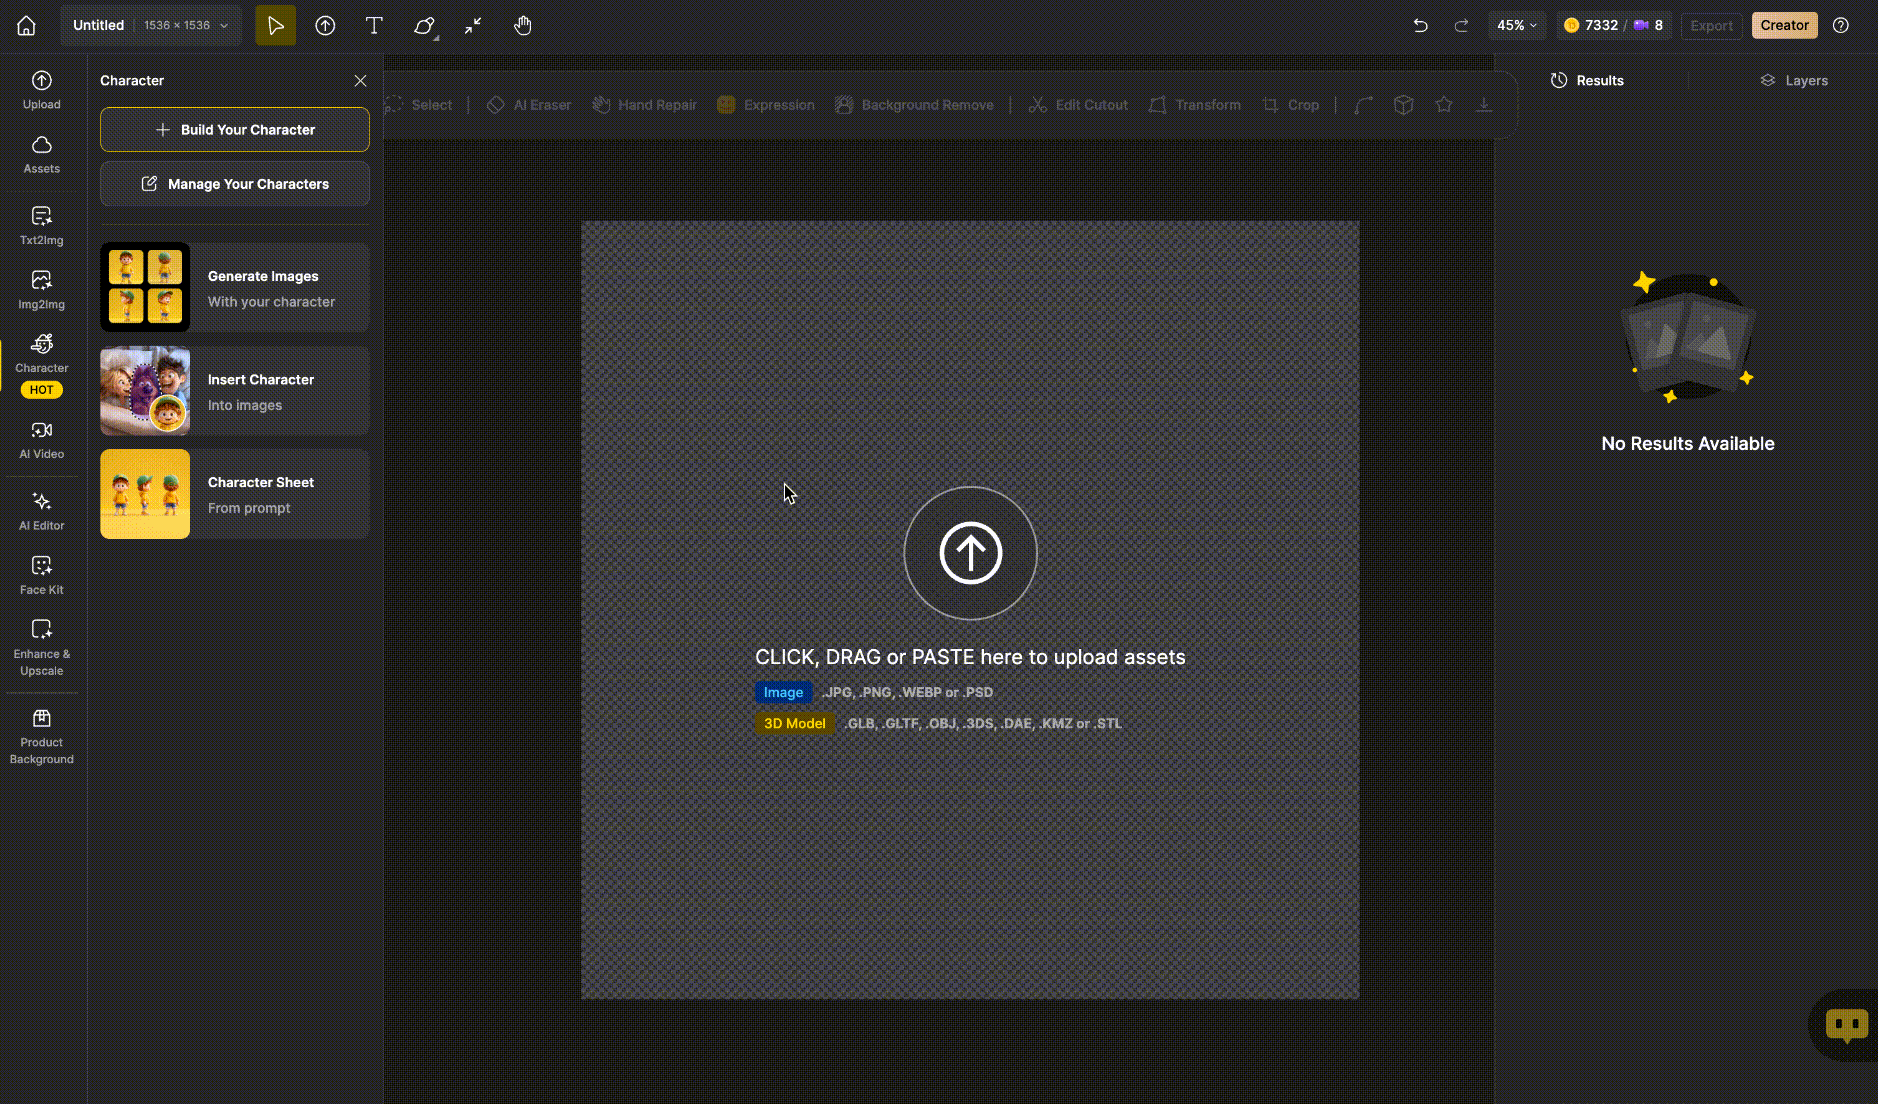
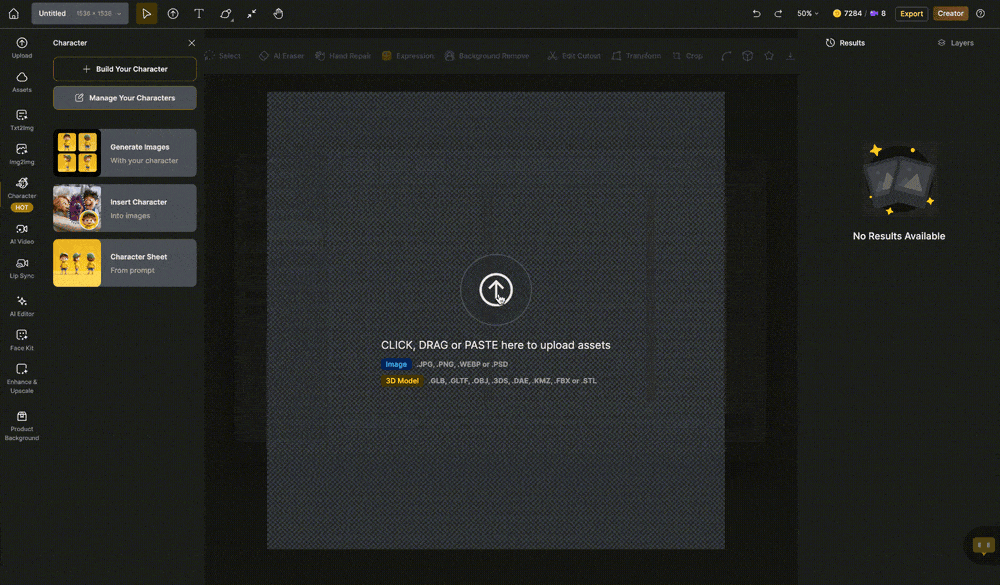
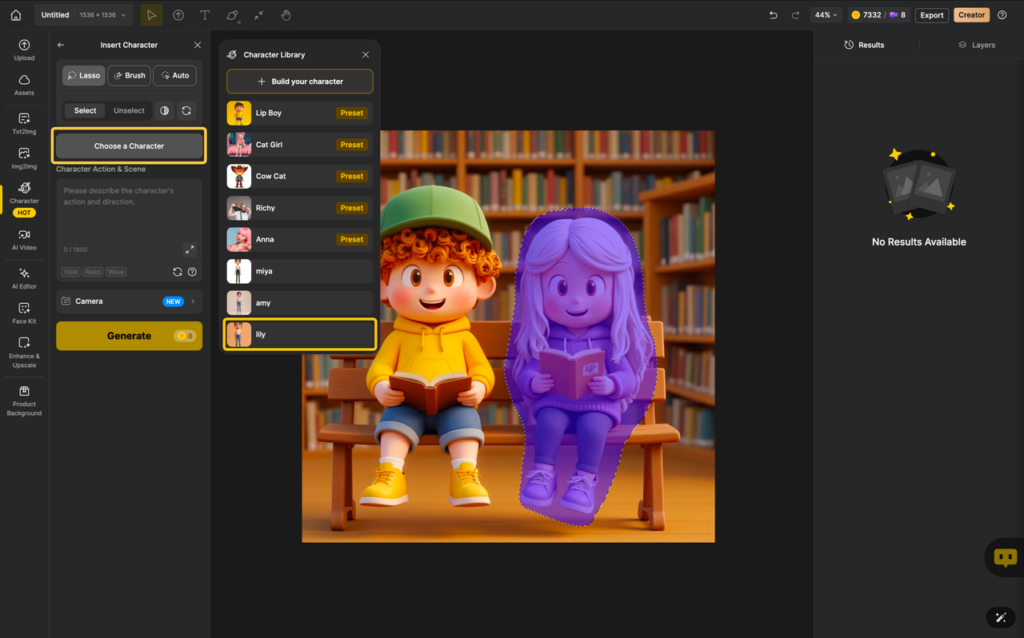
5. Insert character into images!
- Click the Insert Character
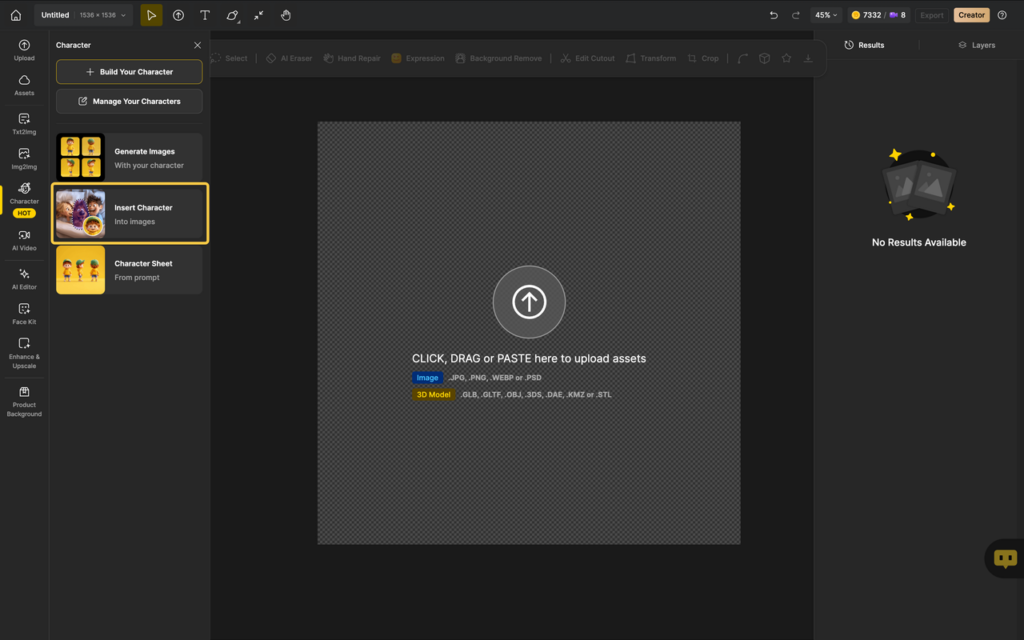
- Upload the image where you want to replace a character
- Select the target character
- Use
 Lasso,
  Brush, or
  Auto to mask the person. Recommend the Lasso tool.
- Use
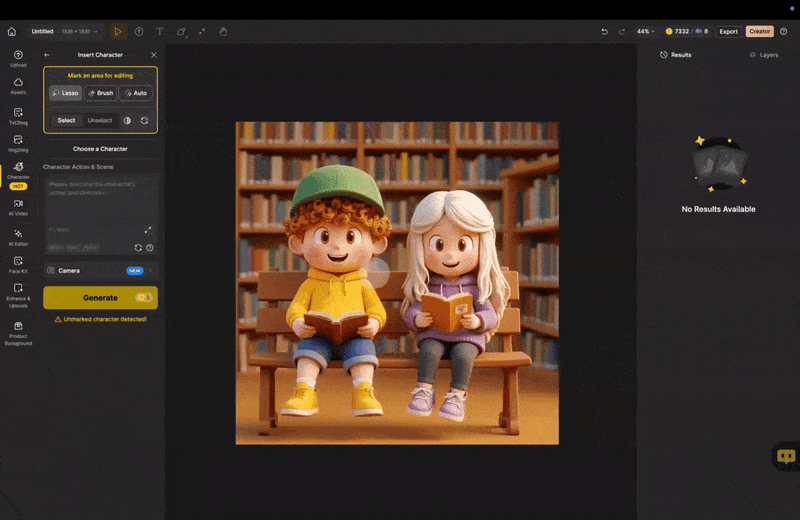
?Tips: When using the Lasso, make your selection slightly larger than the actual area for best results.
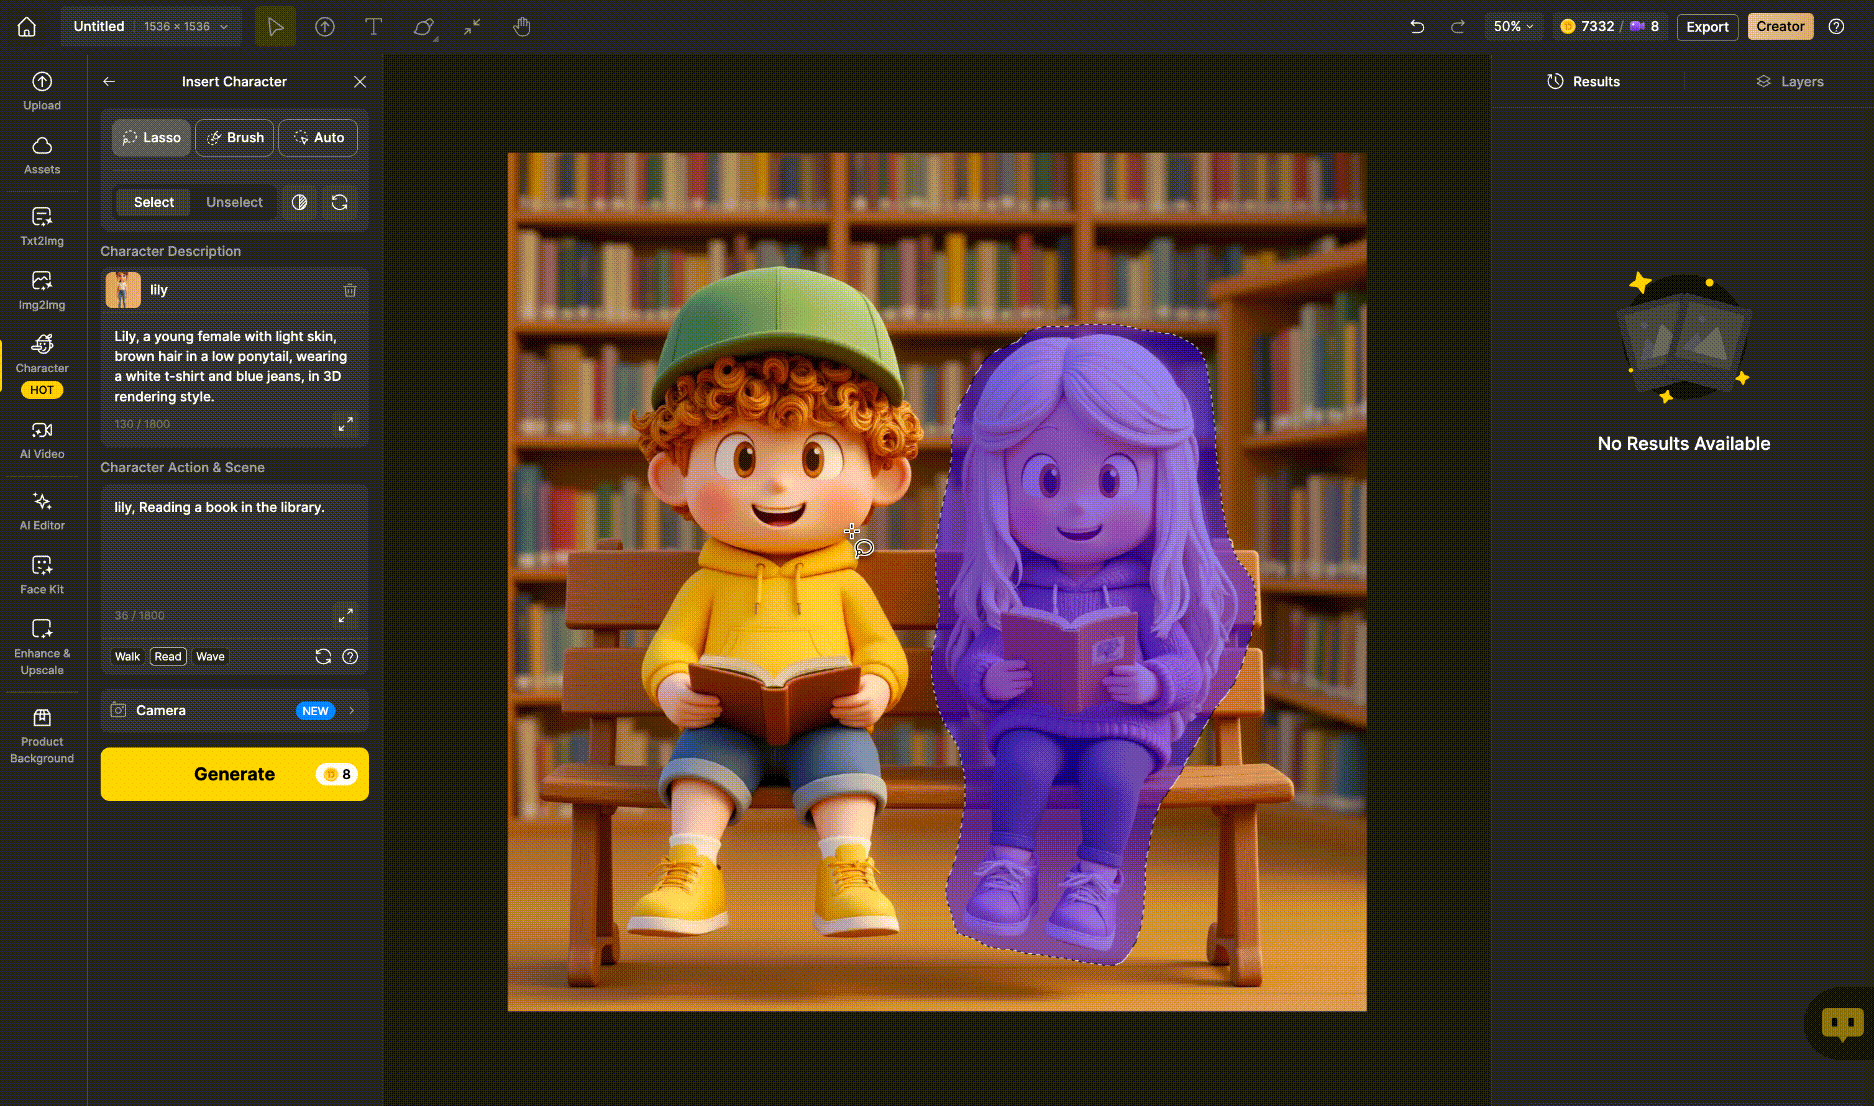
- Choose your custom character
- Enter a prompt
- Be precise but avoid altering the character’s core appearance.
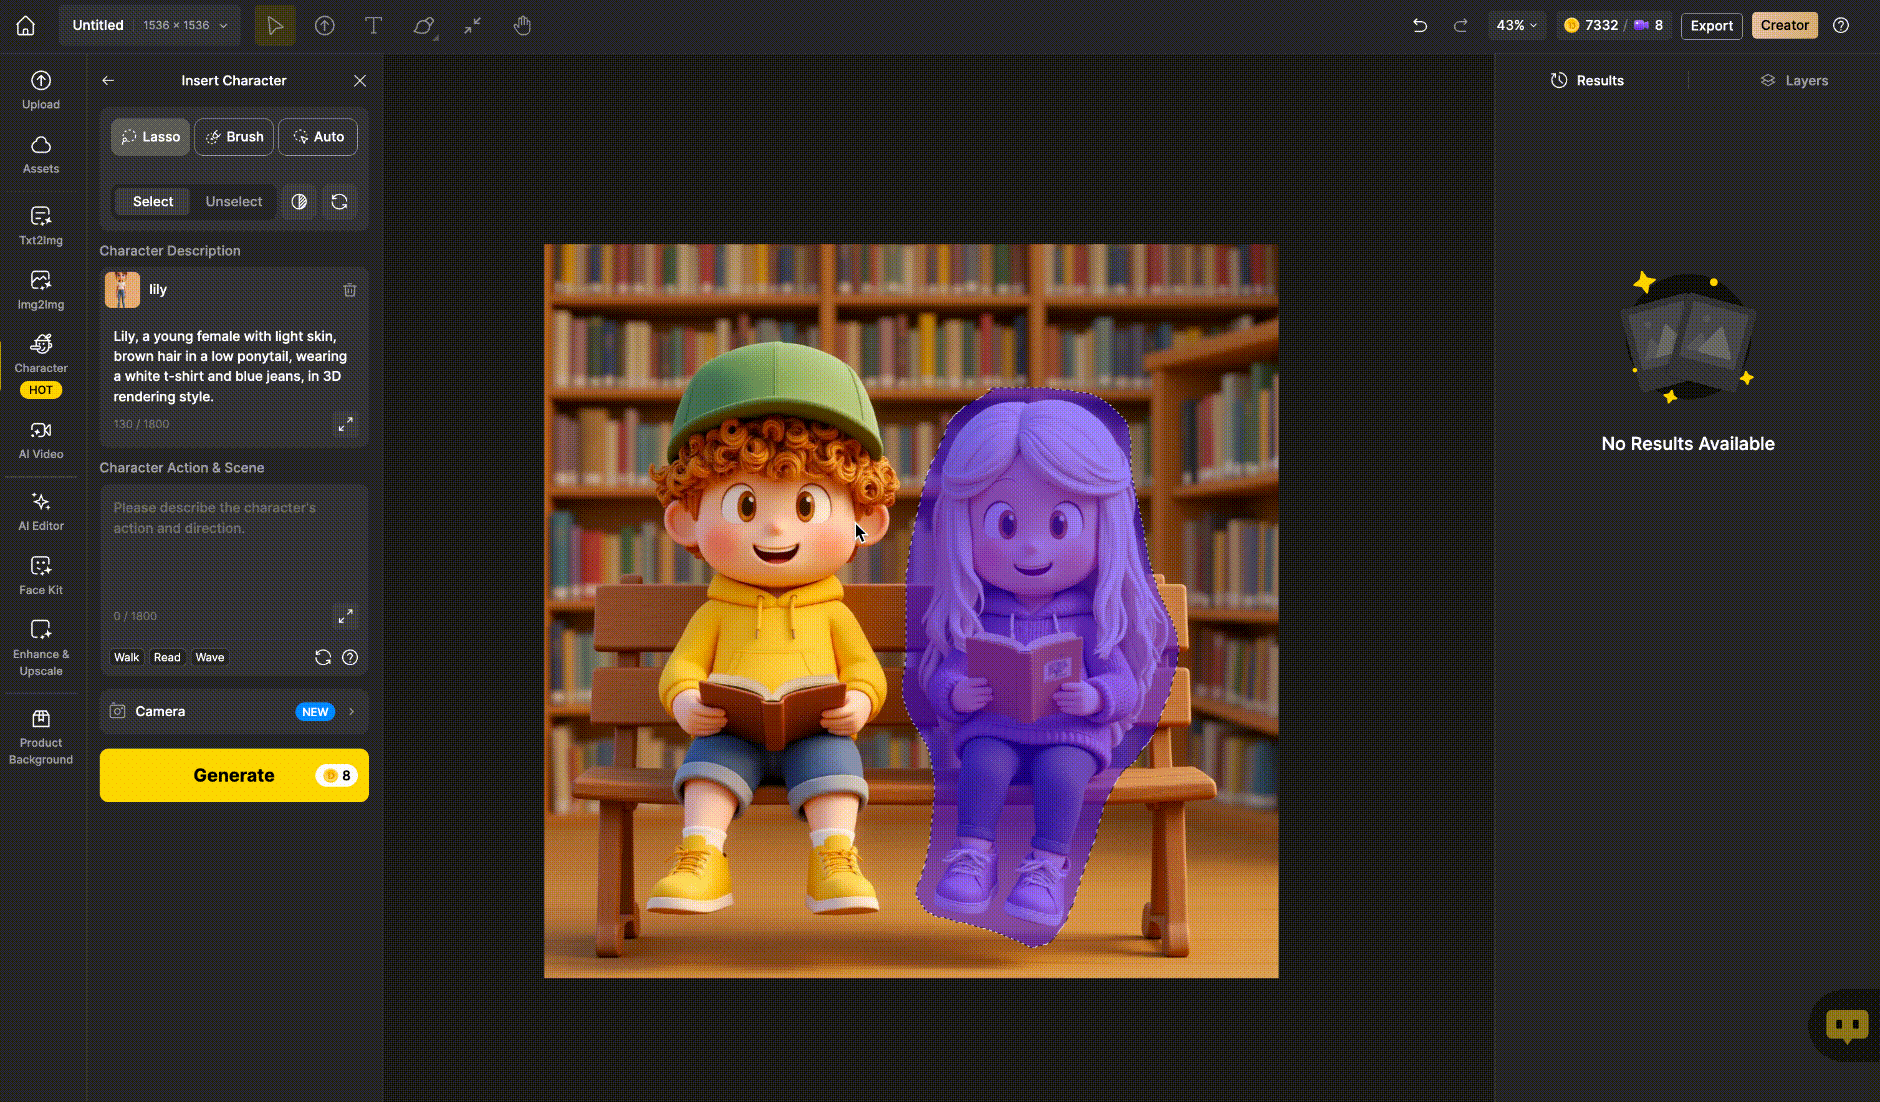

?If you accidentally delete the character description, you can also click
- Select your camera position
- Generate the image
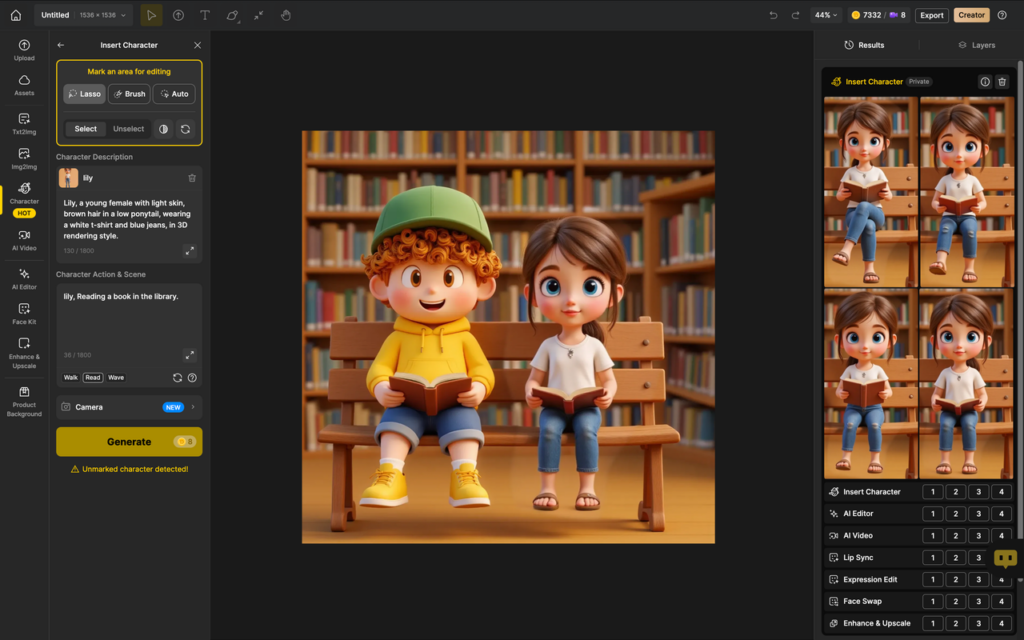
- You can change clothing but not the character’s inherent features or style.
- For upper-body-only images, choose "Upper Body" in the camera.
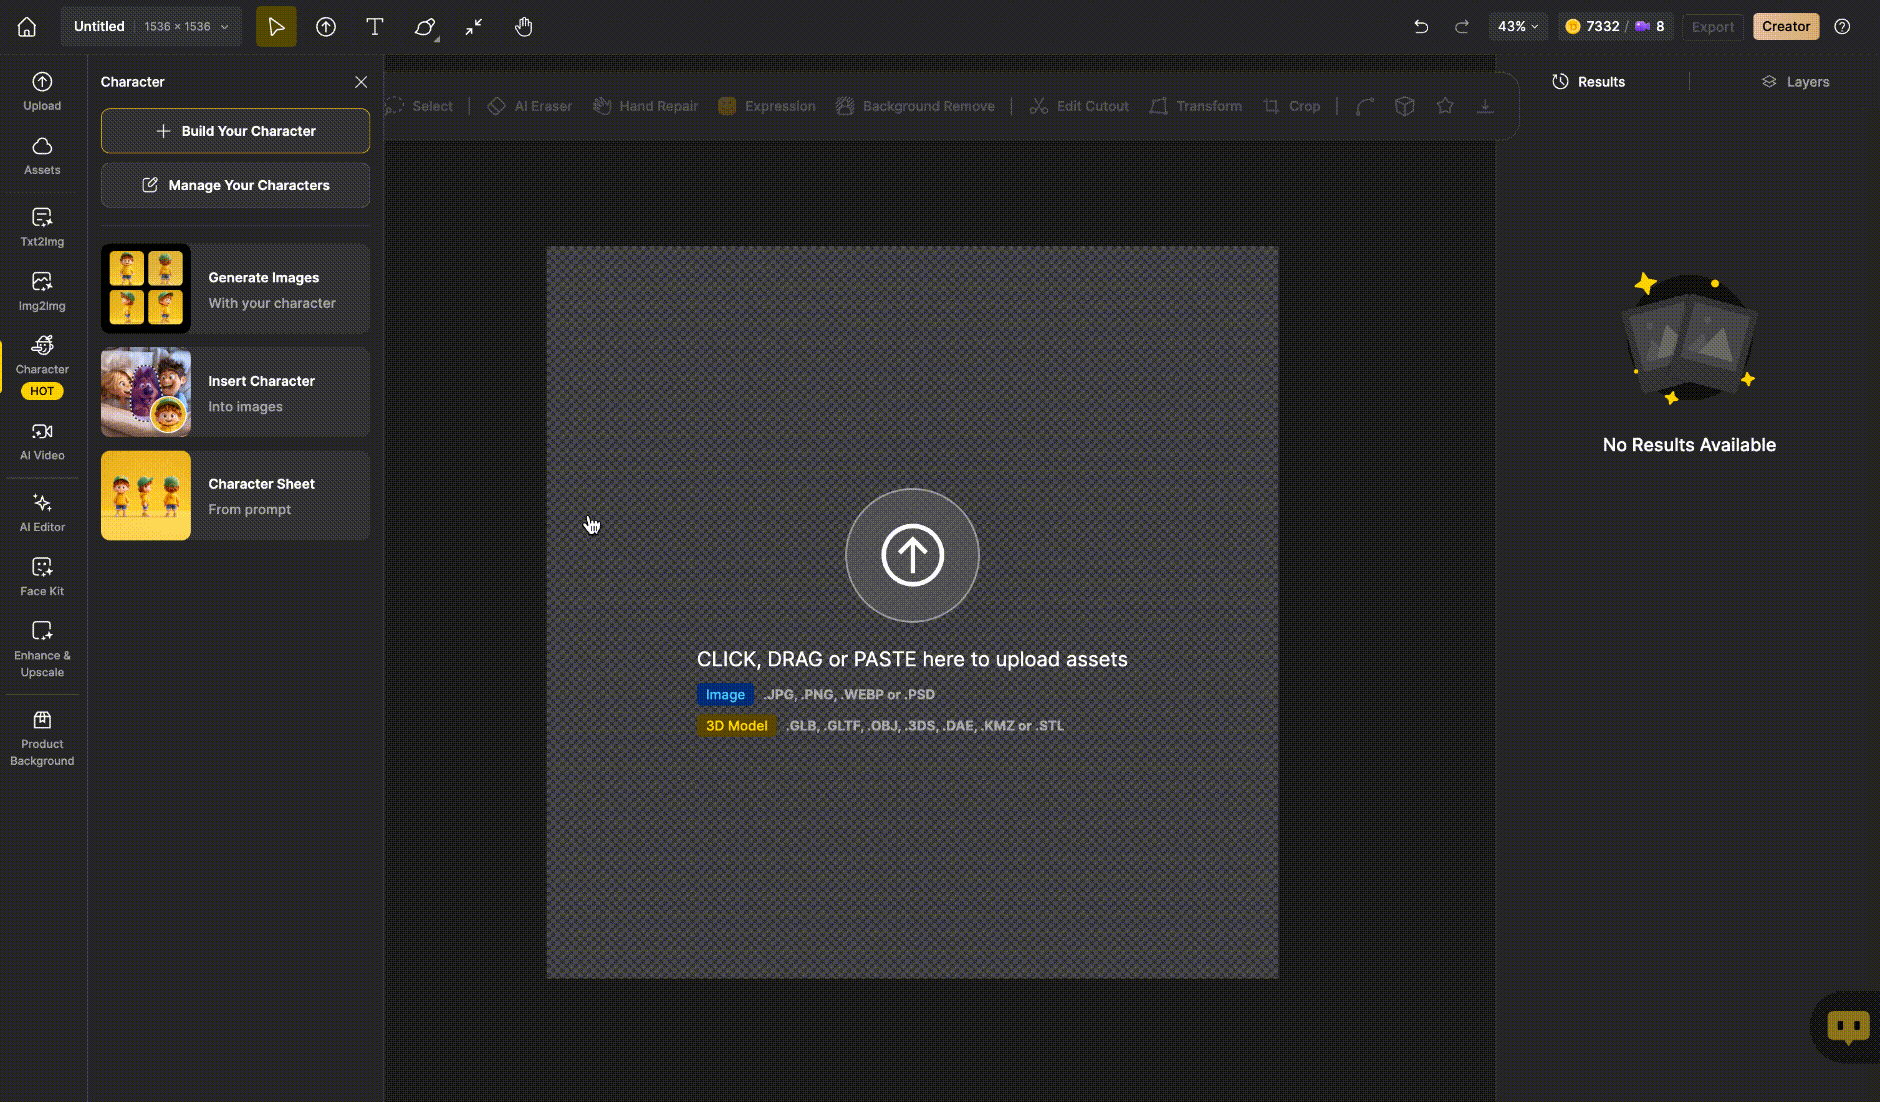
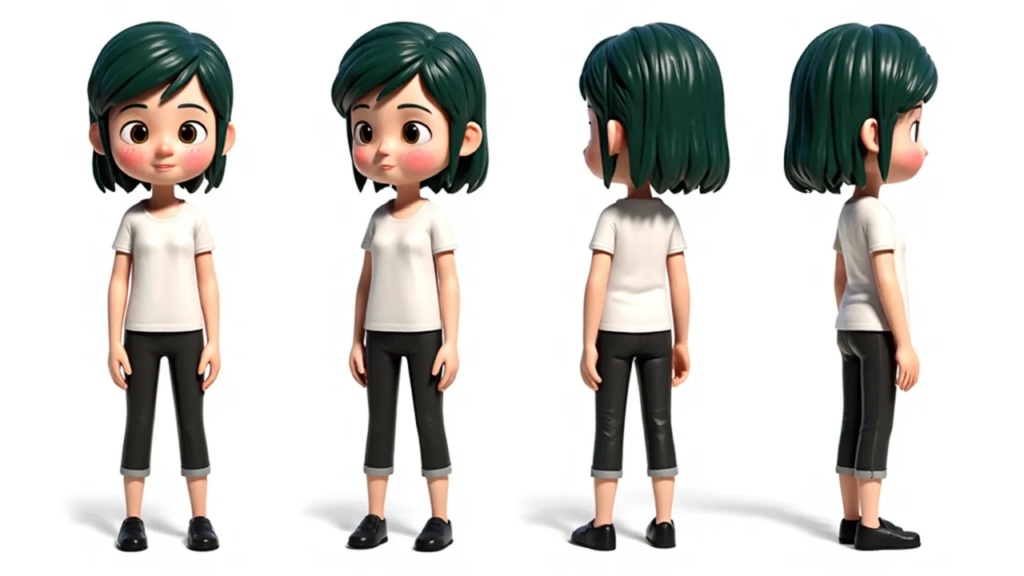
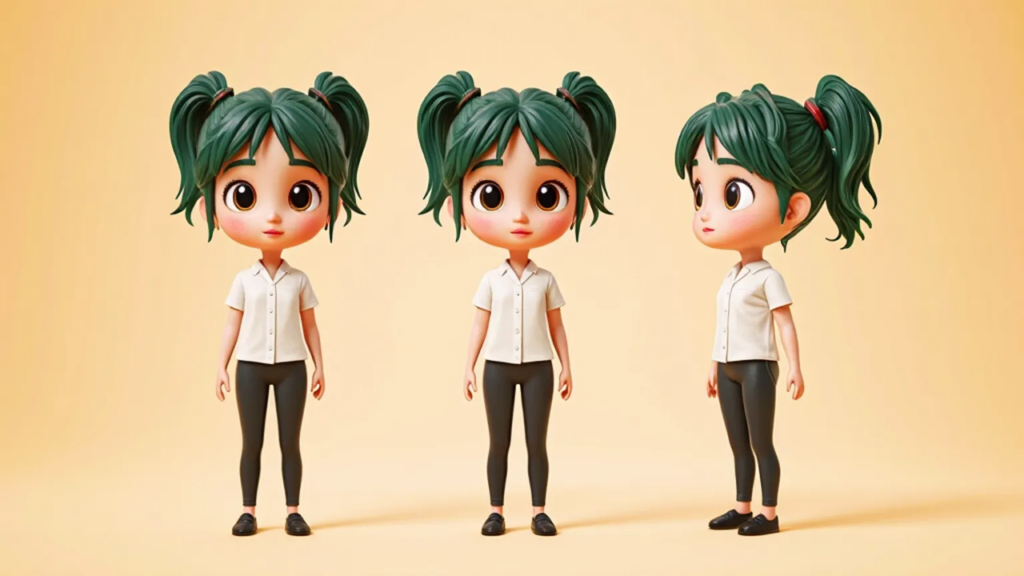
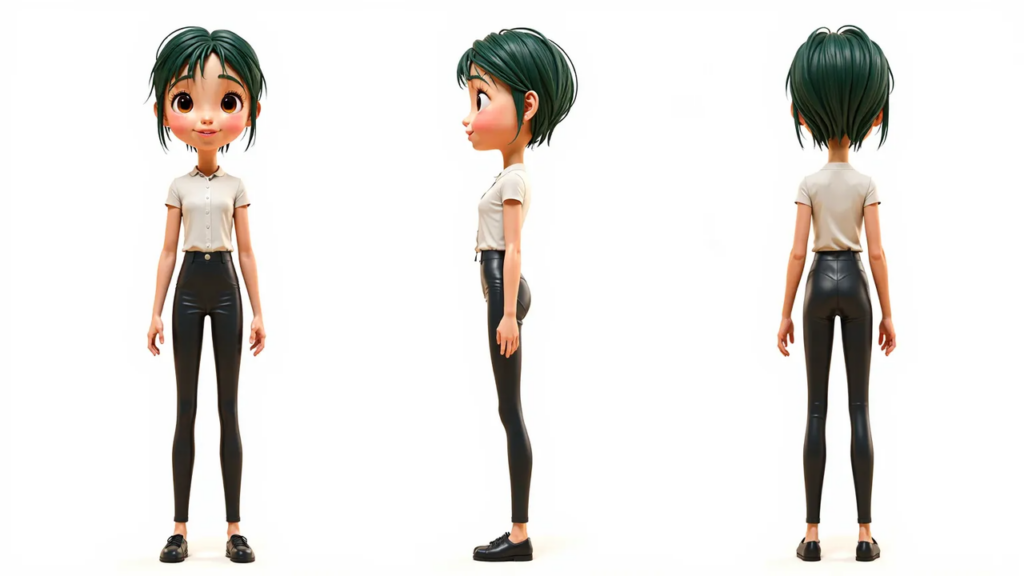
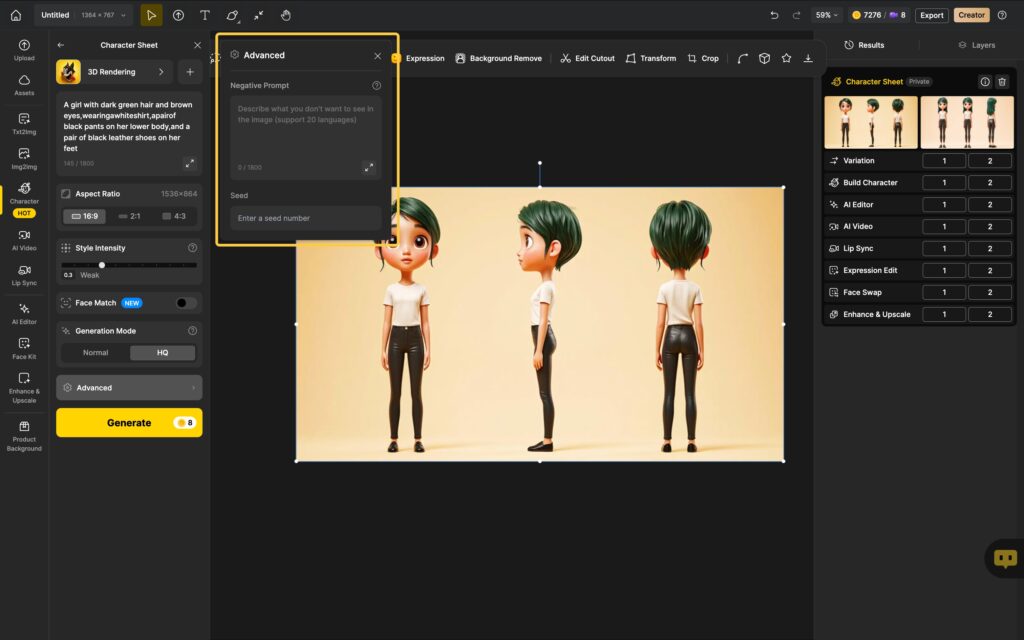
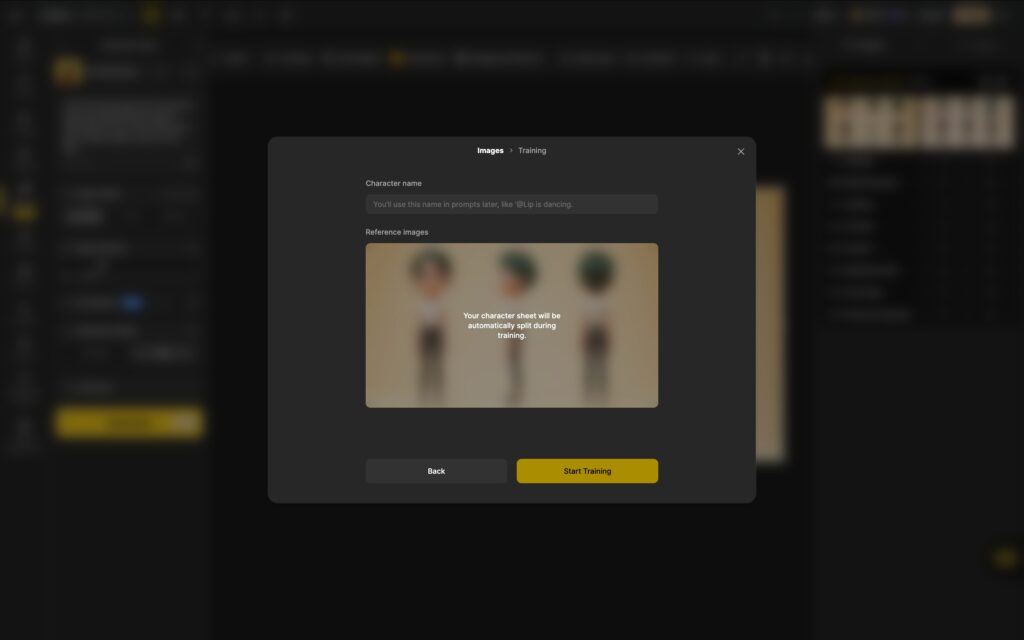
6. Create Character Sheet
- Select a style
- Choose from our style library or upload/train your own style.
- Enter character prompts
- Include detailed features (hair, facial features, body traits).
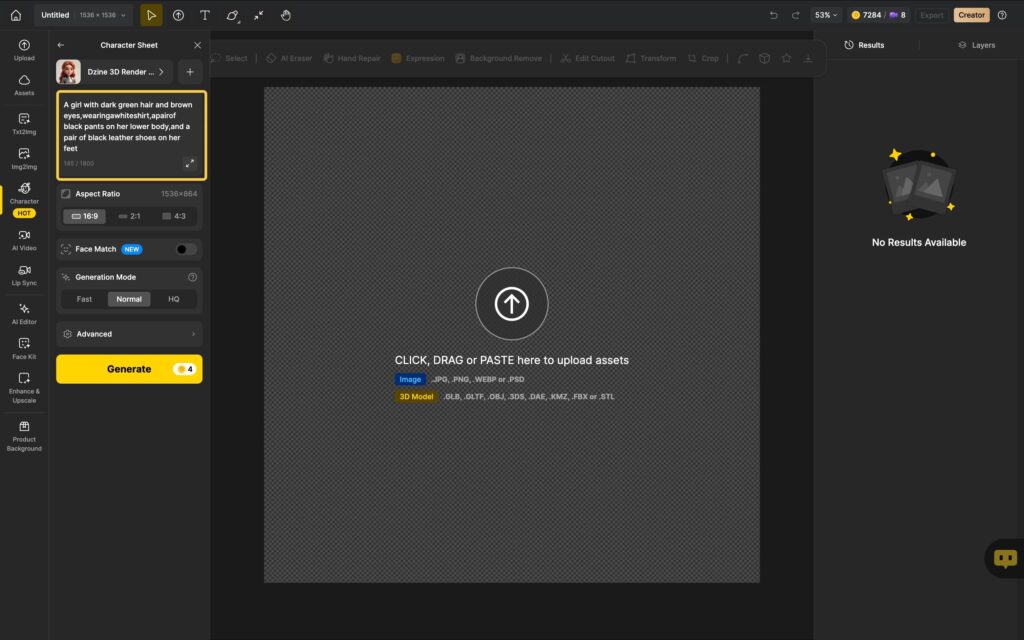
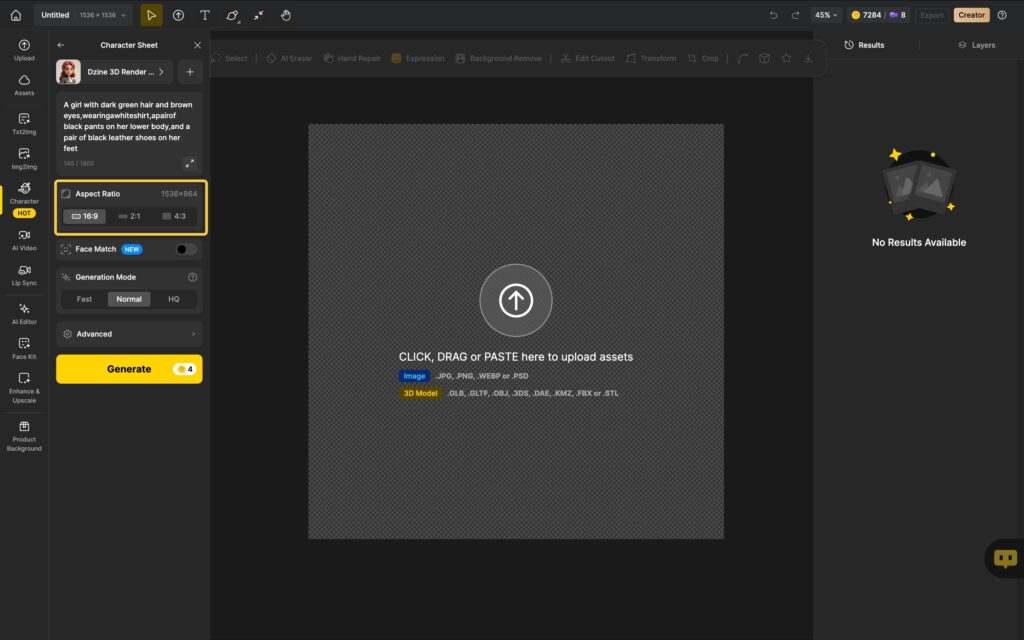
- Choose an aspect ratio
- Select a generation mode
- Under Generation Mode, choose:
- Fast Mode: Quick preview (may deviate from style).
- Normal Mode: Balanced precision.
- HQ Mode: Highest accuracy and style fidelity.
- Under

- Enter negative prompts
- Some styles of advanced can be filled in Negative Prompt, List unwanted elements to exclude from results.
- Train your character
- Select preferred images to train as your exclusive character.
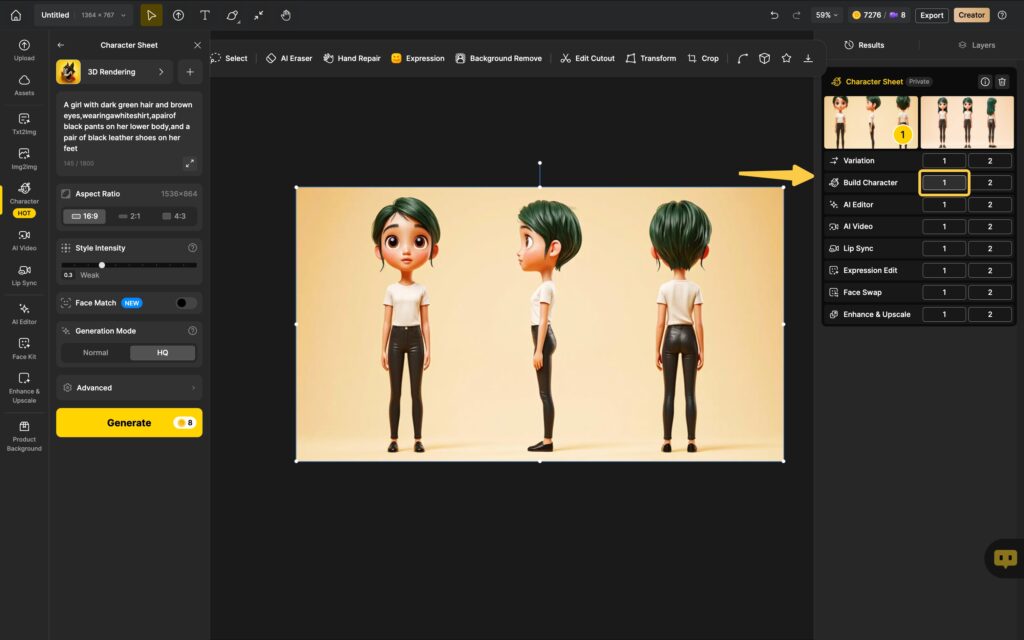
Tip: Use Fast Mode for previews, then switch to HQ Mode for final results.
Summary
To create consistent character images:
1. You can Use text or images to create your character.
2. You can rename or delete your character.
3. Keep the character’s description for a familiar look when you generate pictures.
4. If you want to replace a character in an image, you can use Insert character.
5. You can Create Character Sheet, and train as your exclusive character.

The more detailed and clear your description, the better the AI can match your vision. Happy creating!