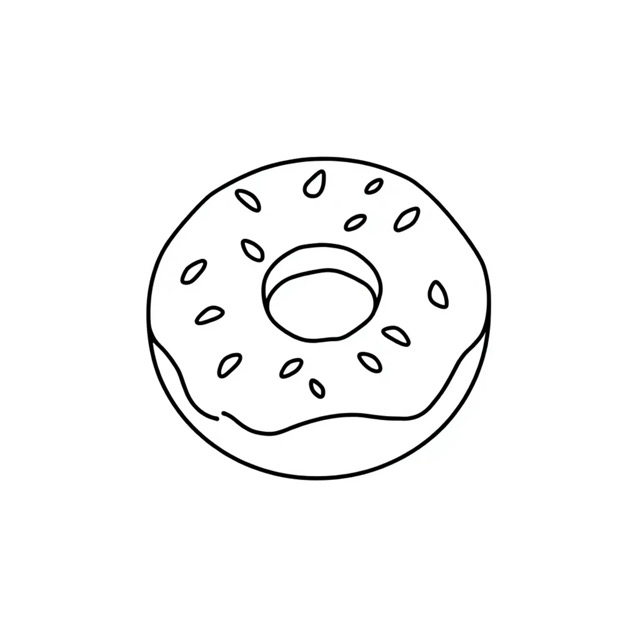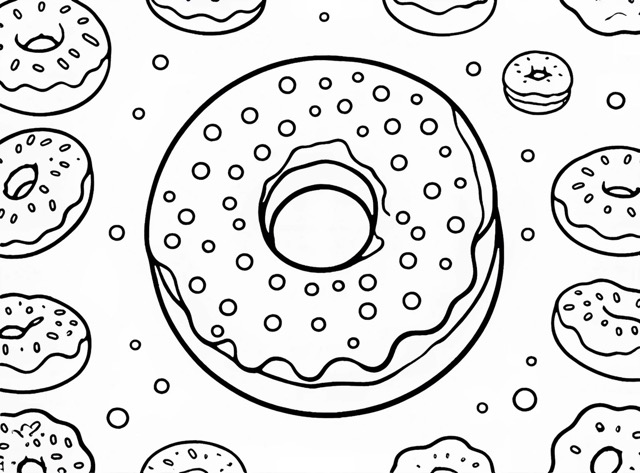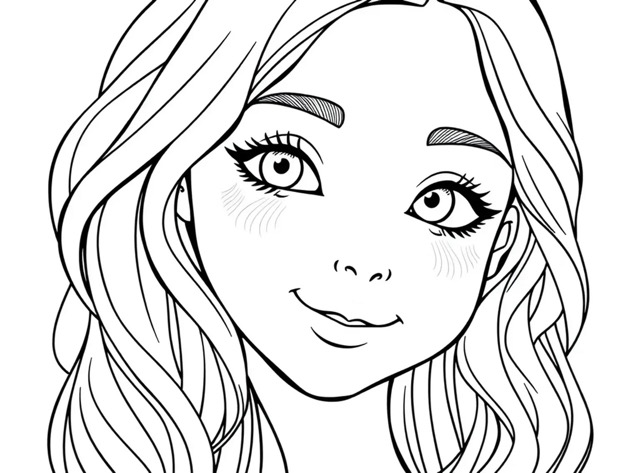
With Txt2Img, creating beautiful, detailed coloring book pages is fast, seamless, and scalable. It boosts productivity by turning simple text prompts into intricate, high-quality designs in moments. Whether you’re crafting abstract patterns, floral motifs, or fantasy scenes, Txt2Img allows you to quickly explore new possibilities and experiment with creative ideas, often sparking inspiration you hadn’t considered. Plus, it ensures consistent styles across multiple pages, making it ideal for cohesive coloring books. With its intuitive interface, bringing your unique vision to life has never been easier.
Step 1 – Open Txt2Img
Start by opening the Txt2Img feature in the left toolbar. This is where you’ll begin crafting your design by describing what you envision for your coloring book.
Step 2 – Describe Your Design
Open Txt2Img in the toolbar and describe what you want to create. Below are some model prompts to guide your design:
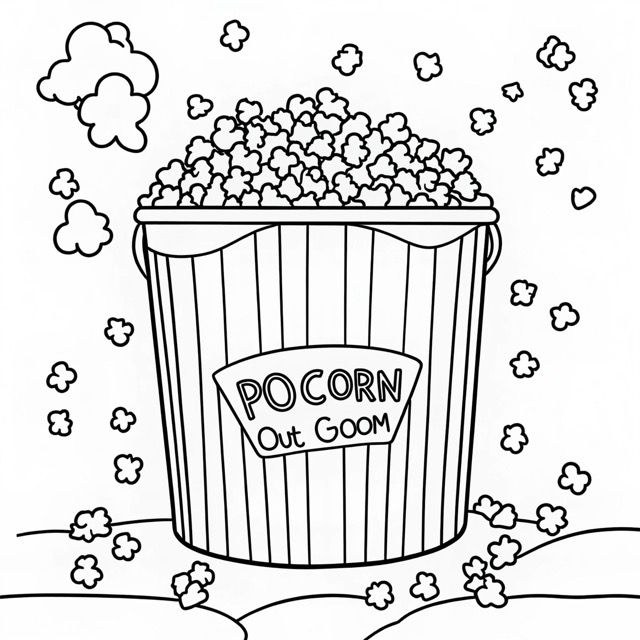
- A small bucket of popcorn, outlined in bold lines with minimal details and no background, making it simple and fun for young artists to color.
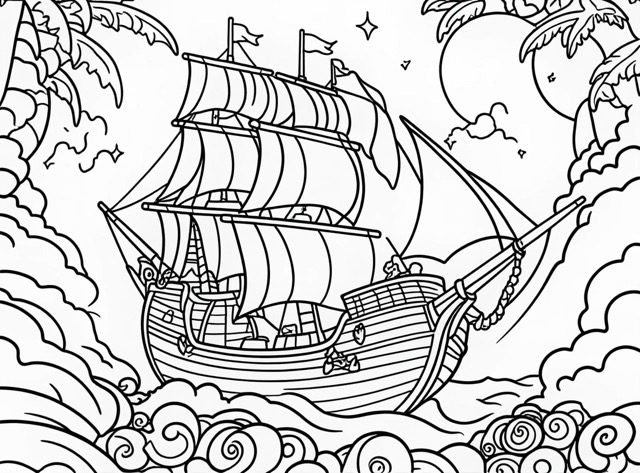
- A coloring book page featuring a detailed pirate ship scene with treasure maps. The line art is clean and precise, with no shading and minimal background elements to keep the focus on the main subjects. The design is monochrome, with high contrast between the ship, maps, and surrounding elements, offering a well-balanced composition for easy coloring.
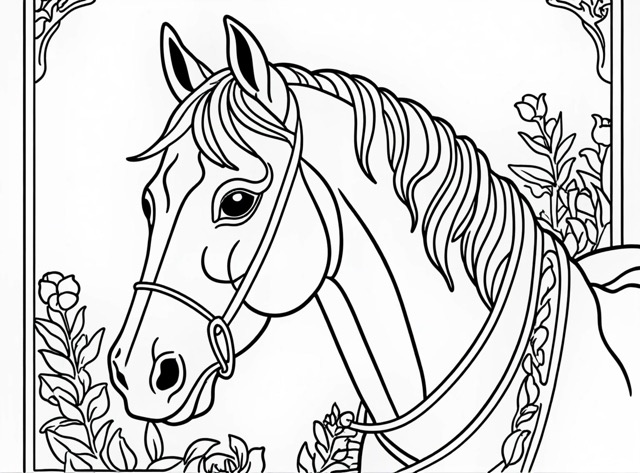
- A clean, simple line art coloring book page featuring a horse, drawn with black lines on a white background. The illustration contains no shading or background elements, with clear, well-composed outlines. The design is monochrome, highly contrasted, and focuses on simplicity while maintaining intricate details in the linework. Suitable for beginner-level coloring with a sharp, professional focus.
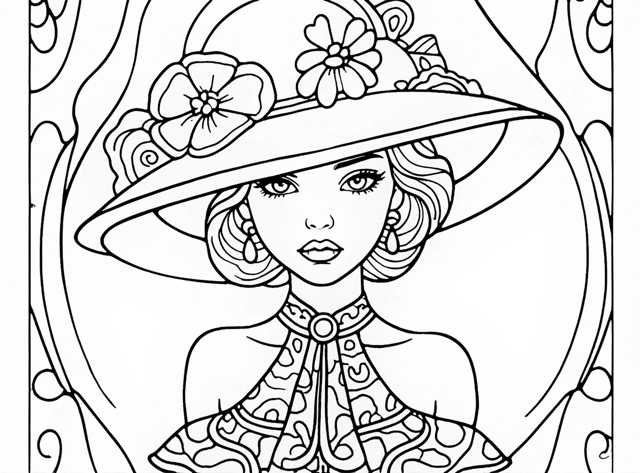
- A coloring book page featuring a close-up view of a single model at a fashionable runway event. The model is dressed in a detailed, high-fashion designer outfit with intricate patterns and accessories. The line art is clean and precise, focusing on the model and outfit with no shading or background elements. The design emphasizes the clothing’s textures and patterns, with bold outlines, making it ideal for a style-focused coloring book.
Step 3 – Choose Your Style
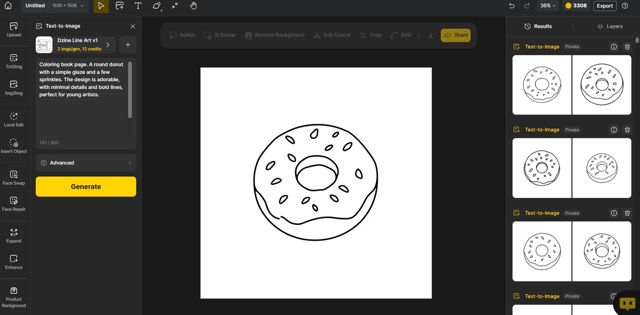
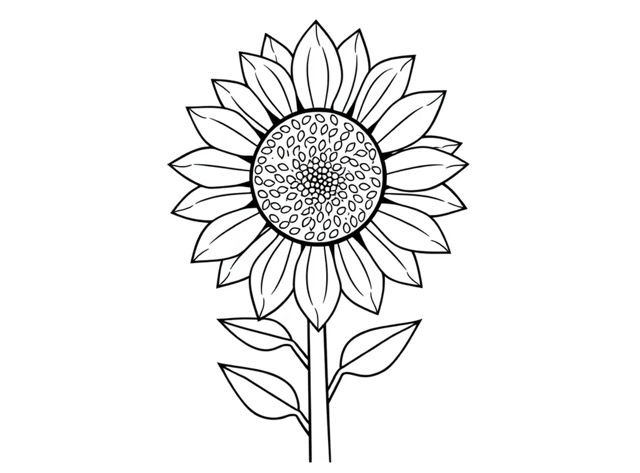
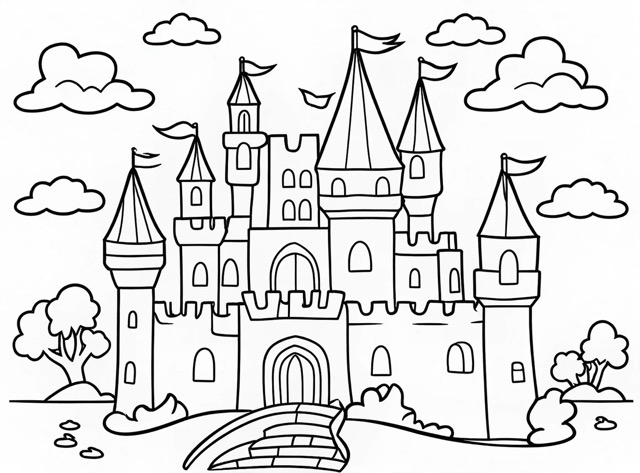
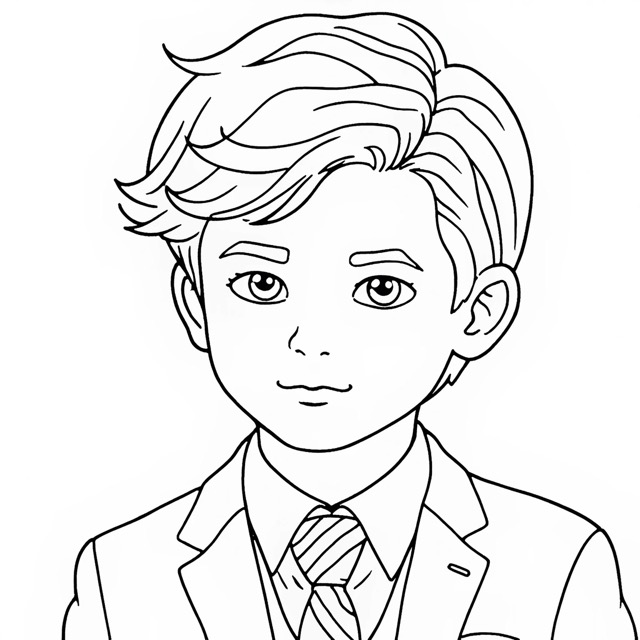
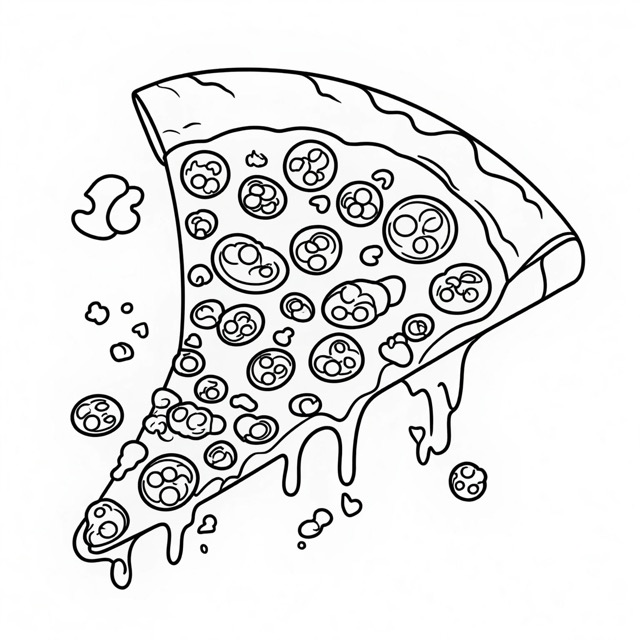
Select a style that aligns with your vision for the coloring book. For example, the Coloring Book Style provides bold outlines and intricate designs, perfect for traditional coloring book pages. You can also choose the Simple Playful Style for more minimalist, lighthearted illustrations, or go with Dzine Line Art v1 for narrative-driven, whimsical scenes. For a blend of imagination and simplicity, Lineart Whimsy offers playful, clean designs suited for children’s illustrations or branding. In this case, I’m opting for the Coloring Book Style to simplify the designs into clean, bold outlines, ideal for easy and engaging coloring.
Available Styles:
- Coloring Book Style: Features intricate, clean linework with bold outlines, combining detailed backgrounds and playful characters, making it ideal for traditional coloring books.
- Simple Playful Style: Focuses on charming, minimalistic designs with exaggerated proportions, creating a light-hearted, whimsical feel suitable for young artists and playful illustrations.
- Dzine Line Art v1: Offers a storybook format with black-and-white line art, emphasizing simplicity and clarity, often used to depict whimsical or fantastical scenes in a narrative-driven style.
- Lineart Whimsy: Depicts playful, simplified scenes mixing everyday life, nature, and imaginative elements. The style has clean, bold outlines with a minimalist approach, perfect for children’s illustrations, coloring books, and playful branding materials.

Step 4 – Adjust the Intensity
Fine-tune the intensity to suit the style and feel of your coloring book page. For more creative and intricate designs, a higher intensity setting like 0.9 can offer detailed results. However, if you prefer a more stable and consistent outcome, starting with a lower setting around 0.1 will provide clean, sharp outlines. Once you’ve set your intensity, generate your design to see how it turns out.
Step 5 – Enable High-Quality Mode
Turn on High-Quality Mode to ensure your generated designs come out crisp and detailed. This setting enhances the overall clarity and sharpness, making your coloring book pages look professional and ready for print.
Step 6 – Generate & Refine
Once you’ve set everything up, generate your design and review the results to ensure they align with your vision. If the output isn’t quite what you expected, try refining your prompt or adjusting the intensity settings. You can also explore variations of your favorite design by selecting the numbers below the generated images on the right panel. To create a large quantity of consistent images quickly, simply hit the “Generate” button in succession. Once you’ve fine-tuned your prompts and style, you can continue generating multiple images with a consistent look by only modifying the prompts.
